XR3 Fitting to FlashShield® CSST
Step 1 - Cut-to-Length
Cut tubing to desired length using tubing cutter. Cut should be centered in a corrugation valley. Use light roller pressure with extra rotations in one direction to leave tubing round and free of burrs on cut.
To ensure a quality flare, all cuts should be made on a straight section of tubing.
Note: Tube ends are sharp use caution when handling.

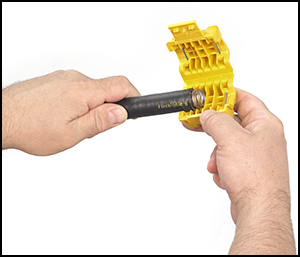
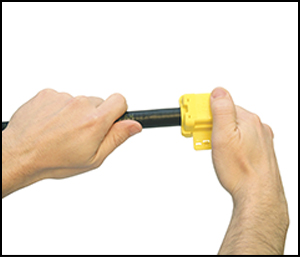
Step 2 - Cut & Strip Jacket Layers
Cut: Place cut-end of FlashShield tubing into Side 1 of the stripping tool up to the tube stop. Close the stripping tool around tubing. Begin rotating the tool back and forth on the CSST (3 – 5, 200º twists) while applying pressure until the blades cut through all 3 jacket layers.
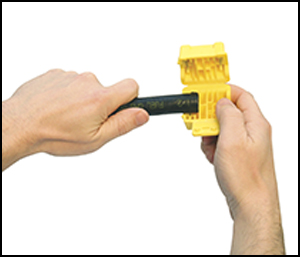

Strip: To remove jacket section, release pressure and grasp the tool from the end (left end in picture). Pull tool straight away from tubing while allowing the tool to open slightly so that the blades can clear the peak of the CSST. Remove and discard the stripped jacket layer(s) from the tool.
Second Cut: Turn stripping tool around to side 2 and place the stripped tubing end back in the tool up to the tube stop. While maintaining the tube against the tube stop, apply medium closing pressure and rotate the tool back and forth on the CSST (3-5, 200o twists) until the blades have cut through the outer plastic jacket layer only.
Strip: Maintain medium closing pressure and pull the tool straight away from the tube to use the blades to strip off the outer coating. Occasionally, a small portion of material may prevent complete stripping. Use the pliers at the corner of the tool to grab the material and pull it away.
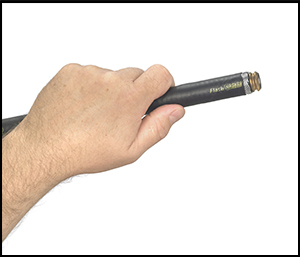
Step 3 - Install Nut & Bushings
Thread fitting body (NPT thread) into valve or appliance connection. Slide nut onto CSST and back a few inches. Separate bushings and position on tubing as shown, locating large bump into the valley of the first corrugation leaving one corrugation-peak exposed between the end of the bushing and tubing.
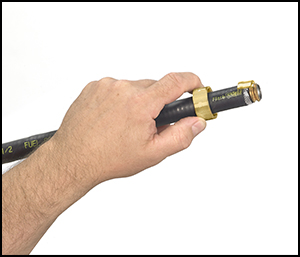
Step 4 - Position Bushings
Insert bushings into fitting body. A small amount of resistance indicates the bushings are being compressed to further capture the jacket.
Note: Pipe dope or sealant is not to be used inside the fitting.
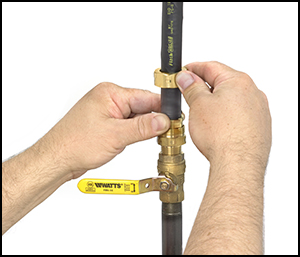
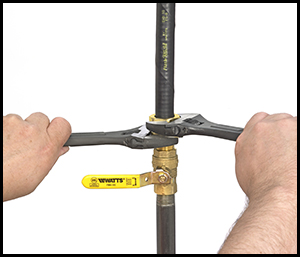
Step 5 - Wrench Fitting
Slide nut over bushings and thread onto fitting body. Some resistance will be experienced as the nut begins to compress the tubing and create the double-wall flare. Continue to wrench the nut until the resistance increases greatly and the double-wall flare is tightly seated.
Note: Rotate the nut only during the tightening process. Do not rotate the fitting body.