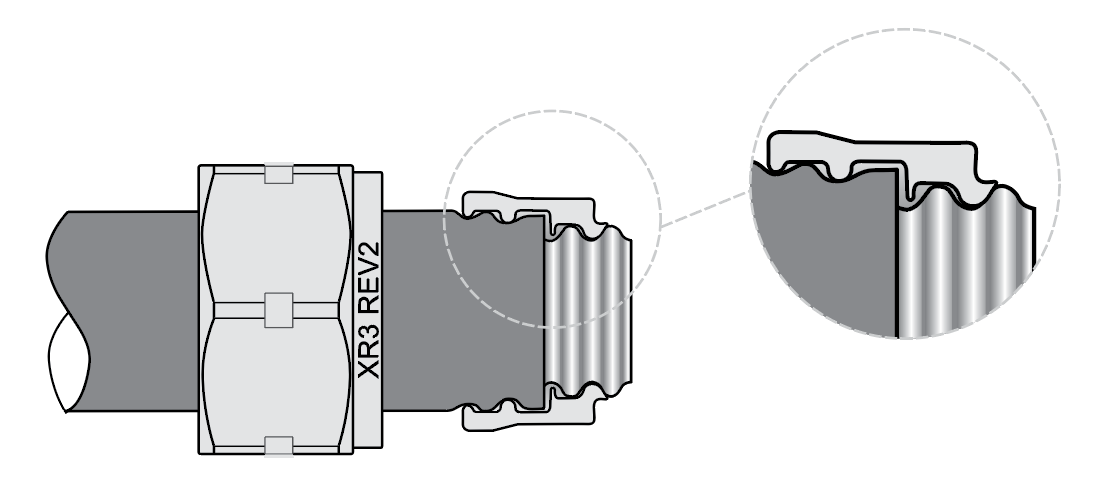
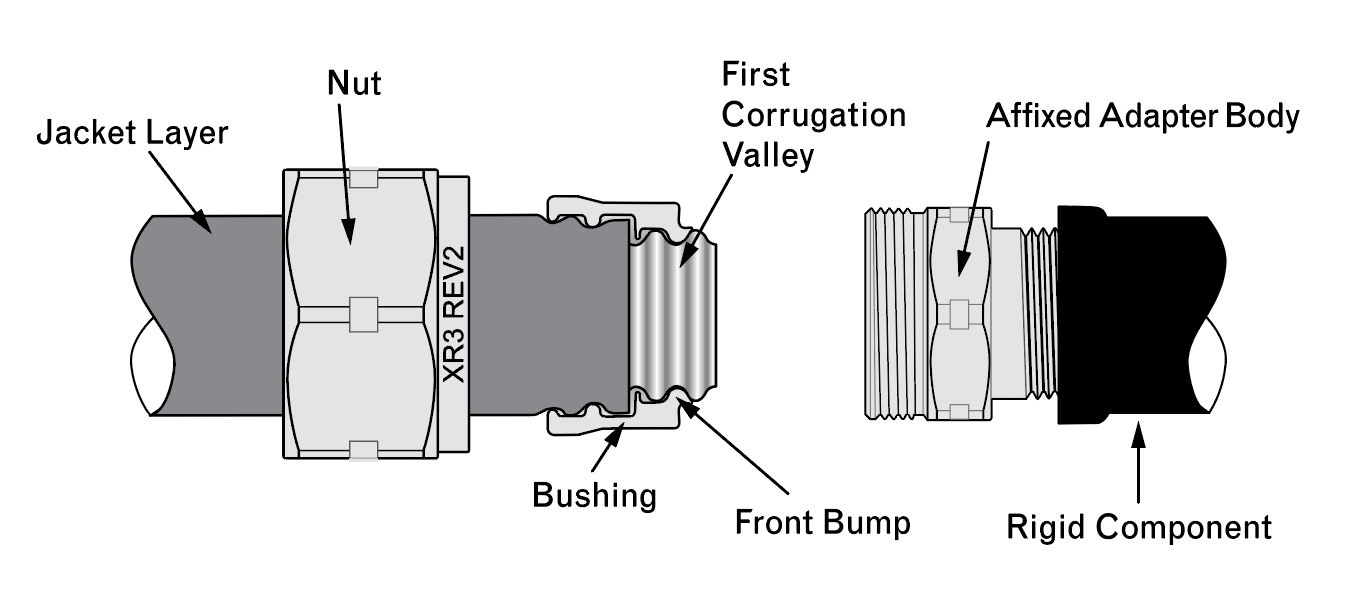
XR3 Rev2 Fitting to FlashShield+™ CSST
Step 1 - Cut-to-Length
Cut tubing to desired length using tubing cutter. Cut should be centered in a corrugation valley. Use light roller pressure with extra rotations in one direction to leave tubing round and free of burrs on cut.
To ensure a quality flare, all cuts should be made on a straight section of tubing.
Note: Tube ends are sharp use caution when handling.

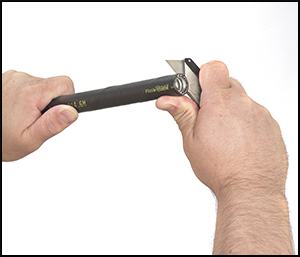
Step 2 - Cut & Strip Jacket Layers
Using a utility knife, cut jacket back to the second valley from tubing end.
Do not cut the jacket in such a way that the steel tubing end is scored.
(This could affect seating).
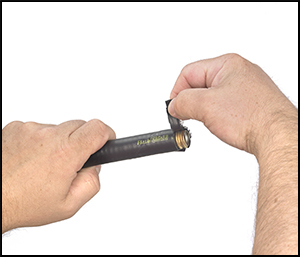
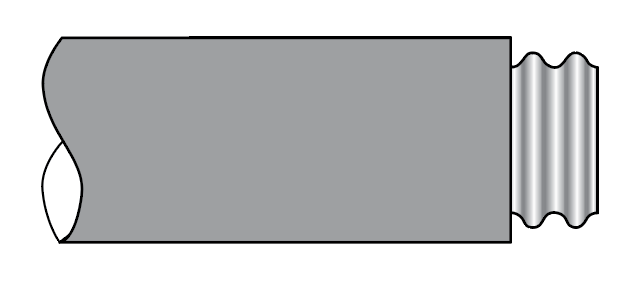
Remove the short section of jacket which will expose one full corrugation-valley of the tubing. Optionally, use side-1 of the FlashShield Jacket Stripping Tool for jacket removal.
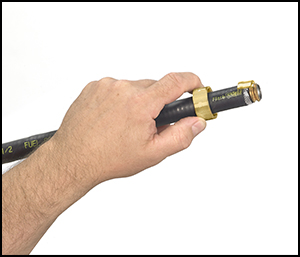
Step 3 - Install Nut & Bushings
Thread fitting body (NPT thread) into valve or appliance connection. Slide nut onto tubing and back a few inches.
Separate bushings and position on tubing as shown, locating large bump into the valley of the first corrugation leaving one corrugation-peak exposed between the end of the bushing and tubing.
Step 4 - Position Bushings
Insert bushings into fitting body. A small amount of resistance indicates the bushings are being compressed to further capture the jacket.
Note: Pipe dope or sealant is not to be used inside the fitting.
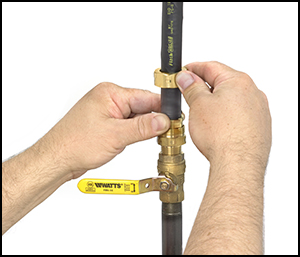
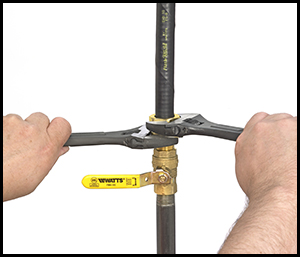
Step 5 - Wrench Fitting
Slide nut over bushings and thread onto fitting body. Some resistance will be experienced as the nut begins to compress the tubing and create the double-wall flare. Continue to wrench the nut until the resistance increases greatly and the double-wall flare is tightly seated.
Note: Rotate the nut only during the tightening process. Do not rotate the fitting body.